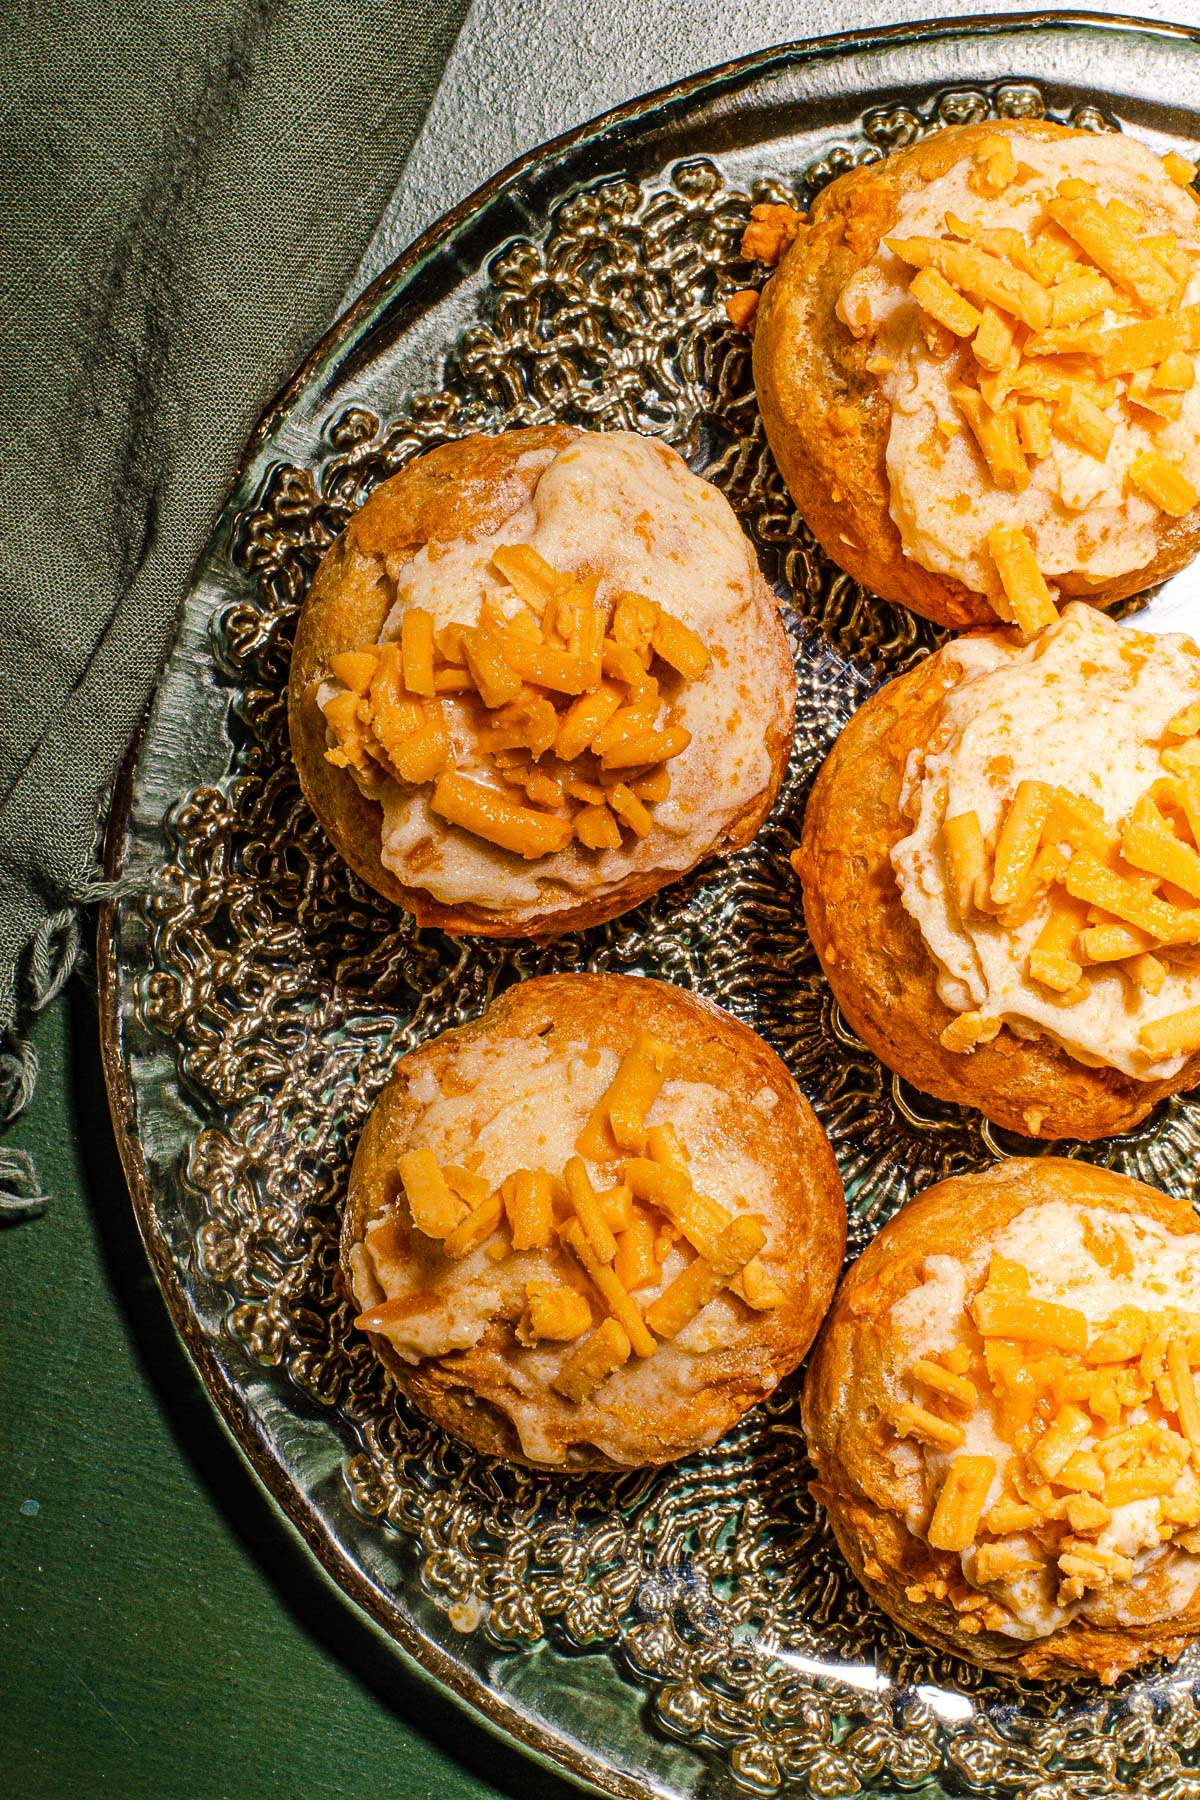
Ensymada Cheese Puffs
Ring in the New Year with this super easy, yet classy Ensymada Cheese Puff. I’ve taken the sweet cheesy bread roll and turned it into a cheese puff. It’s also easier and faster to make!
Servings: 24 Puffs
Ingredients
For the Puff
- ½ Cup Flour
- ¼ Teaspoon Baking Powder
- ¼ Teaspoon Salt
- 2 oz Butter
- ½ Cup Water
- 2 Eggs beaten together
- ¼ Cup Grated Cheese + 2 Tablespoons Extra Gouda or Cheddar will do
For The Sweet Cheese Cream
- ½ Cup Room Temperature Simple Mills Vanilla Frosting
- 2 Tablespoons Grated Cheese
- 2 Tablespoons Fine Cane Sugar
Equipment
- Small Sauce Pan
- Whisk
- Wooden Spoon
- Piping Bag (You can use a 1 gallon zip lock back if you don’t want to buy)
- Piping Tip ½ inch (not needed if you are using the zip lock bag)
- Baking Tray
- Parchment Paper or Silpat (or grease your baking tray pan with butter)
Instructions
- Pre-Heat oven to 400F and line a baking sheet with parchment paper or silpat.
- Sift the flour, baking powder and salt in a bowl and set next to the stove.
- Cut the butter into cubes and place in a sauce pan with the water. Melt the butter on low heat and then bring up to a quick boil. Dump the flour into the water butter mixture and then turn off the heat.
- Beat the mixture thoroughly until it leaves the sides of the sauce pan. Allow it to cool in the pan until the hand can be held comfortably against the side of the pot.
- Add in the eggs into the cooled mixture and mix until smooth. Add in the cheese and mix until incorporated. Transfer the dough into a piping bag with a ½ inch piping tip.
- Pipe 20 equal mounds of dough on your lined baking sheet making sure each mound is 2 inches apart. Sprinkle with extra cheese.
- Bake at 400F for 20 minutes.
- Transfer to cool on a wire rack
For the Sweet Cheese Cream
- Mix together the vanilla icing and the cheese.
To Serve
- Spread the sweet cheese cream on top of each of the cheese puffs and then sprinkle the cane sugar on top.
Notes
If you don’t want to buy piping bags and tip you can transfer the dough to a 1 gallon zip lock bag.
To do that push the dough to one corner that is fully sealed and then wring the top of the bag so that it pushes the dough when you apply pressure. Cut the corner where the opening is about 1cm. Now you have a makeshift, but very workable piping bag!
For a shopping list of equipment go to this post and scroll down to the end.