
I took a class at Le Foodist and this is how I learned how to make croissants in Paris. I'll let you in on all the secrets.

Le Foodist
I was in Paris last week and while I was there I decided to look up some classes on how to make croissants. During a search on Google I stumbled upon a cooking school called Le Foodist and they offer English speaking classes on classical French cuisine and desserts.

I don't know about you, but I have tried making my own croissants at home by watching youtube videos and I just can't get it. My problems were with proofing the dough and how to add the butter in without it seeping all over the place. I wanted this class to solve all my croissant problems.
I Learned How to Make Croissants in Paris
The class is called Good Morning Croissants! It is a 3 hour class from 10am to 1pm and it's very hands on. The beauty of the class it's only max 6 people, so you get to do lots of work. In the beginning of class you are broken up into two groups of 3 and each group works on one dough each. Making croissants is an all day process and at best even for professionals it takes a minimum of 5 hours to make them.
How did they condense it to a 3 hour class then? Quite ingenuous really. The dough previous students have made are used in the current class to roll out and form the croissants you are going to bake and take with you. There are lots of resting time in between each step, so instead of waiting around you make the dough for the next class.
Our Teacher
This is Hugo our teacher for the day. He is a professional pastry chef. Did you know that in France you have to be certified to become a pastry chef? They take pastry very seriously there.

It makes such a huge difference when you are being taught by a person who clearly loves what he does and who also has a very good sense of humor.
Poolish
To start off the process of making croissants you must first make the poolish or starter. This process is super important and ensures that your yeast is working. Another important tool when making croissants is having a scale. Please don't use recipes that have cups and teaspoons in them when you are making pastry. Every gram counts so please measure with a scale.
Back to the poolish - you mix the yeast, room temperature water and flour until it forms a thick paste. Leave it in the bottom of the bowl you will be mixing with and cover with the flour mixture. This protects the yeast and also gives a good indication if your yeast is alive or not. After about 30 minutes you start to see cracks forming and some of the poolish bubbling through.

Making the Dough
Once the yeast has been activated add in the rest of the ingredients to the mixing bowl (milk, butter, sugar and salt). Using the dough hook on your mixer set it to medium and mix for about 3-5 minutes until it all starts gathering together.

It's finished when you start hearing it flap against the mixing bowl. This saves you from having to kneed the dough yourself. Don't over mix it or else there will be too much gluten in the dough and it will be very hard to roll out. Once you hear the flapping stop it.
Take the hook out and leave the dough in the bowl and leave to rest and rise for an hour in a warm humid place. I like to just put a just boiled cup of water in the oven with the dough if it's too cold out now.
Pounding the Butter
While you are waiting for the dough to rise, you can get the butter ready by placing the butter in between two pieces of parchment paper. Using a rolling pin pound the butter into a 15inx15in square. Taking out the butter 15 minutes before will make sure it's still cold by malleable.

Forming the Dough
Once the dough has risen line your workspace with some plastic wrap and lay the dough on top. Using your hands form it into a large rectangle about 14in x 10in.

Wrap it in the plastic and place in the refrigerator to cool to the same temperature as the butter. About 1 to 2 hours.
Lamination
Now comes the fun part and probably the part where everyone seems to fub. Laminating dough is the process where you roll butter in between dough. The butter helps the dough become nice and flakey and golden when baked.

Take the dough and butter out of the refrigerator. Roll out the dough so that it's able to fully cover the butter square. It's very important to press the butter in and to press the dough into the butter to make sure there are not air pockets. The most important lesson I learned in this class is too pinch the dough around the butter to seal it. Game changer for me. Here is a video to show you what I mean.
After you encase the butter in the dough, roll it out to approximately 20 in long and 8 in wide.

Then you fold the dough into 3rds by overlapping the dough into each other.


Cover this dough and let it rest in the refrigerator for 30 minutes. Any more and the butter will get too hard and will start ripping the dough when you roll it out. Repeat this process two more times including the 30 minute resting time in between.
Shaping the Croissants
Now the fun part begins! Roll out the dough to the same length again 20 in x 8 in and evenly cut the dough width wise into 3 sheets.

Place the 2 sheets in the refrigerator covered with plastic wrap and roll out your first sheet.

Roll it out again to 20x8 being careful to not make the dough too thin. Using a pastry cutter, pizza cutter or knife cut out triangles. You should get about 5 really big croissants out of one sheet.

Make little tiny slits in the bottom of the triangles. Pull them slightly so they look like the Eiffel Tower and then fold over the edge with the slit first and start rolling until you get to the pointy end. Slightly curve the edges and place on a sheet pan with parchment. Repeat for the rest of the triangles.

Egg Wash
Make an egg wash with one egg plus one egg yolk and coat all the pastry all over with them.

Second Proofing
Another key part to making croissant is the second proofing. Like the first time place some just boiled water in a cool oven and let the croissants rest and rise for an hour. They should come out looking all jiggly.

Let's Bake!
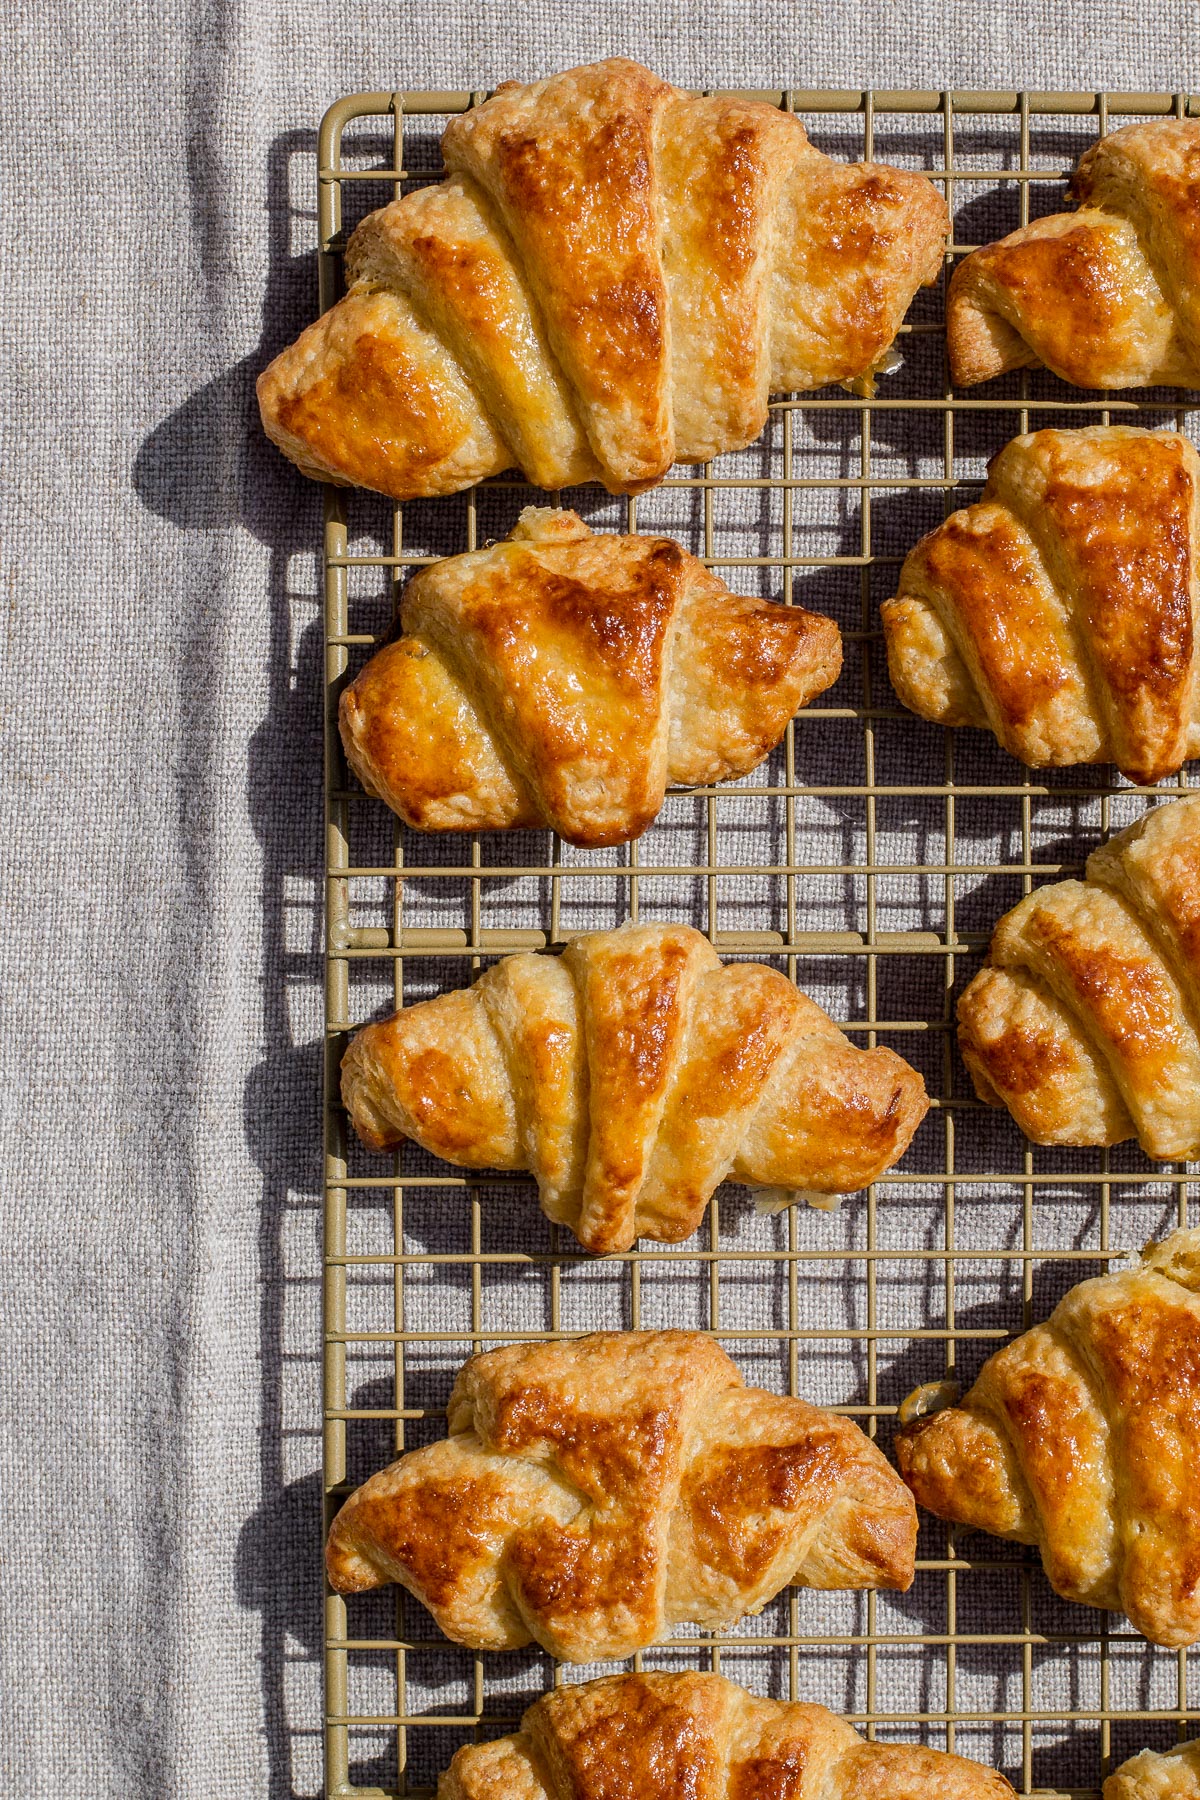
Finally we are ready to bake them, so pre-heat your oven to 350 degrees and brush them with the egg wash for a second time and bake the croissants for 12 -14 minutes. Ideally they should come out looking like this.

Once I got home I tried making them myself again so that I can train my brain on how to keep remembering on how to do it. I have to say seeing them being made and being taught hands on made all the difference. I did everything step by step and had beautiful croissants coming out of my oven. It's a miracle!
Thank you so much Le Foodist and Hugo for the class. It was so fun and I truly have learned a life long skill that I won't ever forget.

Ingredients
Poolish
- 10 g Dried Yeast
- 112 g Room Temperature Water
- 75 g All Purpose Flour
Dough
- 375 g Pastry Flour
- 75 g All Purpose Flour
- 175 g Room Temperature Whole Milk
- 100 g Unsalted Butter
- 50 g Sugar
- 12 g Salt
Butter Block
- 350 g Unsalted Butter
Egg Wash
- 1 Egg
- 1 Egg Yolk
- Pinch of Salt
Instructions
Make the Poolish (Starter Dough)
- In the bowl of your stand mixer add the yeast and water and mix well. Add in the water and mix well.
- In a separate bowl mix together the 375g of Pastry Flour and 75g of All Purpose Flour. Place all this flour on top of the yeast mixture. Level the top of the flour and press slightly with a small bowl. Cover the bowl and leave to activate the yeast for 30 minutes.
Make the Dough and Butter Square
- Check your poolish and make sure there are cracks forming through the flour. Once this happens add in the milk, butter, sugar and salt to the mixture. When adding in the sugar and salt take care to not tip them on the yeast that might be seeping out, only place it on the flour.
- Using the dough hook on your mixer, turn it on to meduim speed and mix for 3-5 minutes until the dough starts wrapping around the hook and you hear a slapping sound against the mixing bowl. Stop the mixer once you here it slap.
- Cover the bowl with a tea towel and leave to rise in a humid environment. To make a makeshift one place a cup of just boiled water in a cold oven and place your covered bowl next to it. Leave to double in size for an hour.
- Once it has doubled line your bench with plastic wrap and form the dough into a 14x10 in rectangle. Cover and put in the refrigerator.
- Take the butter and put it in between to pieces of parchment paper. Pound it down to a 15x15 in square. Put in the refrigerator and leave to cool and rest for 1 hour with the dough.
Lamination
- Take the dough and butter out of the refrigerator. Roll out the the dough to make sure it has enough space to cover the butter square. Place the butter diagonally on the dough and press it down to eliminate any air pockets.
- Layer each dough ear over the butter square making sure to press down to eliminate any air pockets and to pinch the dough to the butter and around the edges to seal it. Repeat with all the dough ears until you have covered the butter thoroughly.
- Turn 1: Roll out the dough to a perfect rectangle that is approx 20in x 8in. Fold the dough into thirds making sure the edges are straight. Wrap in plastic wrap. Press one finger on the dough to make it with 1 turn. Leave to cool and rest for 20 minutes in the refrigerator.
- Turn 2: Prior to rolling out make sure the dough is placed like a book in front of you. Roll out the dough to a perfect rectangle that is approx 20in x 8in. Fold the dough into thirds making sure the edges are straight. Wrap in plastic wrap. Press two fingers on the dough to make it with 1 turn. Leave to cool and rest for 20 minutes in the refrigerator.
- Turn 3: Prior to rolling out make sure the dough is placed like a book in front of you. Roll out the dough to a perfect rectangle that is approx 20in x 8in. Fold the dough into thirds making sure the edges are straight. Wrap in plastic wrap. At this stage you can leave the dough overnight to rest and develop flavor. If you have time during the day leave to rest for 30 minutes in the refrigerator.
Shapping the Croissants
- Prior to rolling out make sure the dough is placed like a book in front of you. Roll out the dough to a perfect rectangle that is approx 20in x 8in. Cut this long piece of dough into 3rds with a pizza cutter. Cover the two sheets of dough with plastic wrap and leave in the refrigerator until they are ready to cut.
- Roll out the small sheet of dough to about 15in x 8 in making sure to not make it too thin. Using a pizza cutter cut out triangles. At the bottom of each triangle cut a little slit. Slightly stretch out the triangles to make them thinner. Starting at the bottom with the slit fold the dough over each other and keep rolling until the tip gets locked under. Repeat with all the triangles.
- At this point you can just bake the one sheet of triangles or continue on to shaping all the sheets into croissants.
Egg Wash
- Mix the egg and egg yolk with the salt and brush on the croissants. Leave to rise for up to an hour in the same fashion as the dough with just boiled water in a cup and leave both the tray of croissants and cup of water in a cool oven.
Let's Bake!
- Pre-Heat the oven to 350 degrees coat with another layer of egg wash and bake for 12-14 minutes until golden brown. Eat right away after they have cooled for a bit and enjoy your freshly baked croissants!


Leave a Reply