
Crispy Garlic (or Bawang) is a staple in Filipino kitchens. It adds a lot of flavor and crunch to dishes such as Arroz Caldo and Palabok.

Crispy Garlic (Bawang)
Ohh, we are up to Bawang (Garlic) in the Bahay Kubo Song!!! I kept thinking of different recipes to highlight the bawang in Tagalog and I kept going back to this one. My Mom made a small batch of this whenever she cooked Arroz Caldo and Palabok. I like to cook a big batch and have it in the pantry for flavor and texture emergencies.
It's a two ingredient recipe. Where the bawang cooked in oil to get super golden and crispy. The trick is to put the garlic in cold oil and heating it up slowly. Burnt garlic is a no no.
What Do You Need to Make Crispy Garlic?
Garlic (Bawang) - I use lots, by lots I mean 6 cloves of garlic. I know!! But it lasts a long time.

Olive Oil - You can use any oil, but olive oil is my favorite.
How Do You Make It?
The first step is to peel all the cloves in the garlic. I did find two resources for you on how to peel them. This one uses the double bowl method and the second one uses hot water. I actual did it the old school way but smashing each and every clove with the back of my knife. It was pretty therapeutic actually. You choose which way you want to peel.

Once it is all peeled, this is where I took a short cut. I used the pulse button on my food processor. I did about 5 pulses. You don't want them to be super small as they will cook faster. Leave them on the chunky side. Of course if you don't have one you can chop them up with a knife as well.

Next put the garlic in a sauce pan and cover with cold olive oil. I used a cup and a half of oil and it went up half an inch over the garlic.

Now is the time to be patient. Because I cooked 6 heads of garlic it took me 30 minutes to get the right color on them.
Put on the stove on very low heat and keep it moving so it doesn't stick to the bottom of the pan. Leave it on low heat up until the 25 minute mark. Once you see the garlic is starting to brown slightly up the heat a little, until they are nice and golden.
The key is to remove the crispy garlic from the oil right away so that it doesn't burn. Drain them on some paper towels. Don't throw away the oil. It's now infused with garlic and so awesome to use in dishes that call for garlic.

How to Store
Now that the garlic is all nice and crispy, you have two ways to store them. The beauty is you can actually do all the ways!
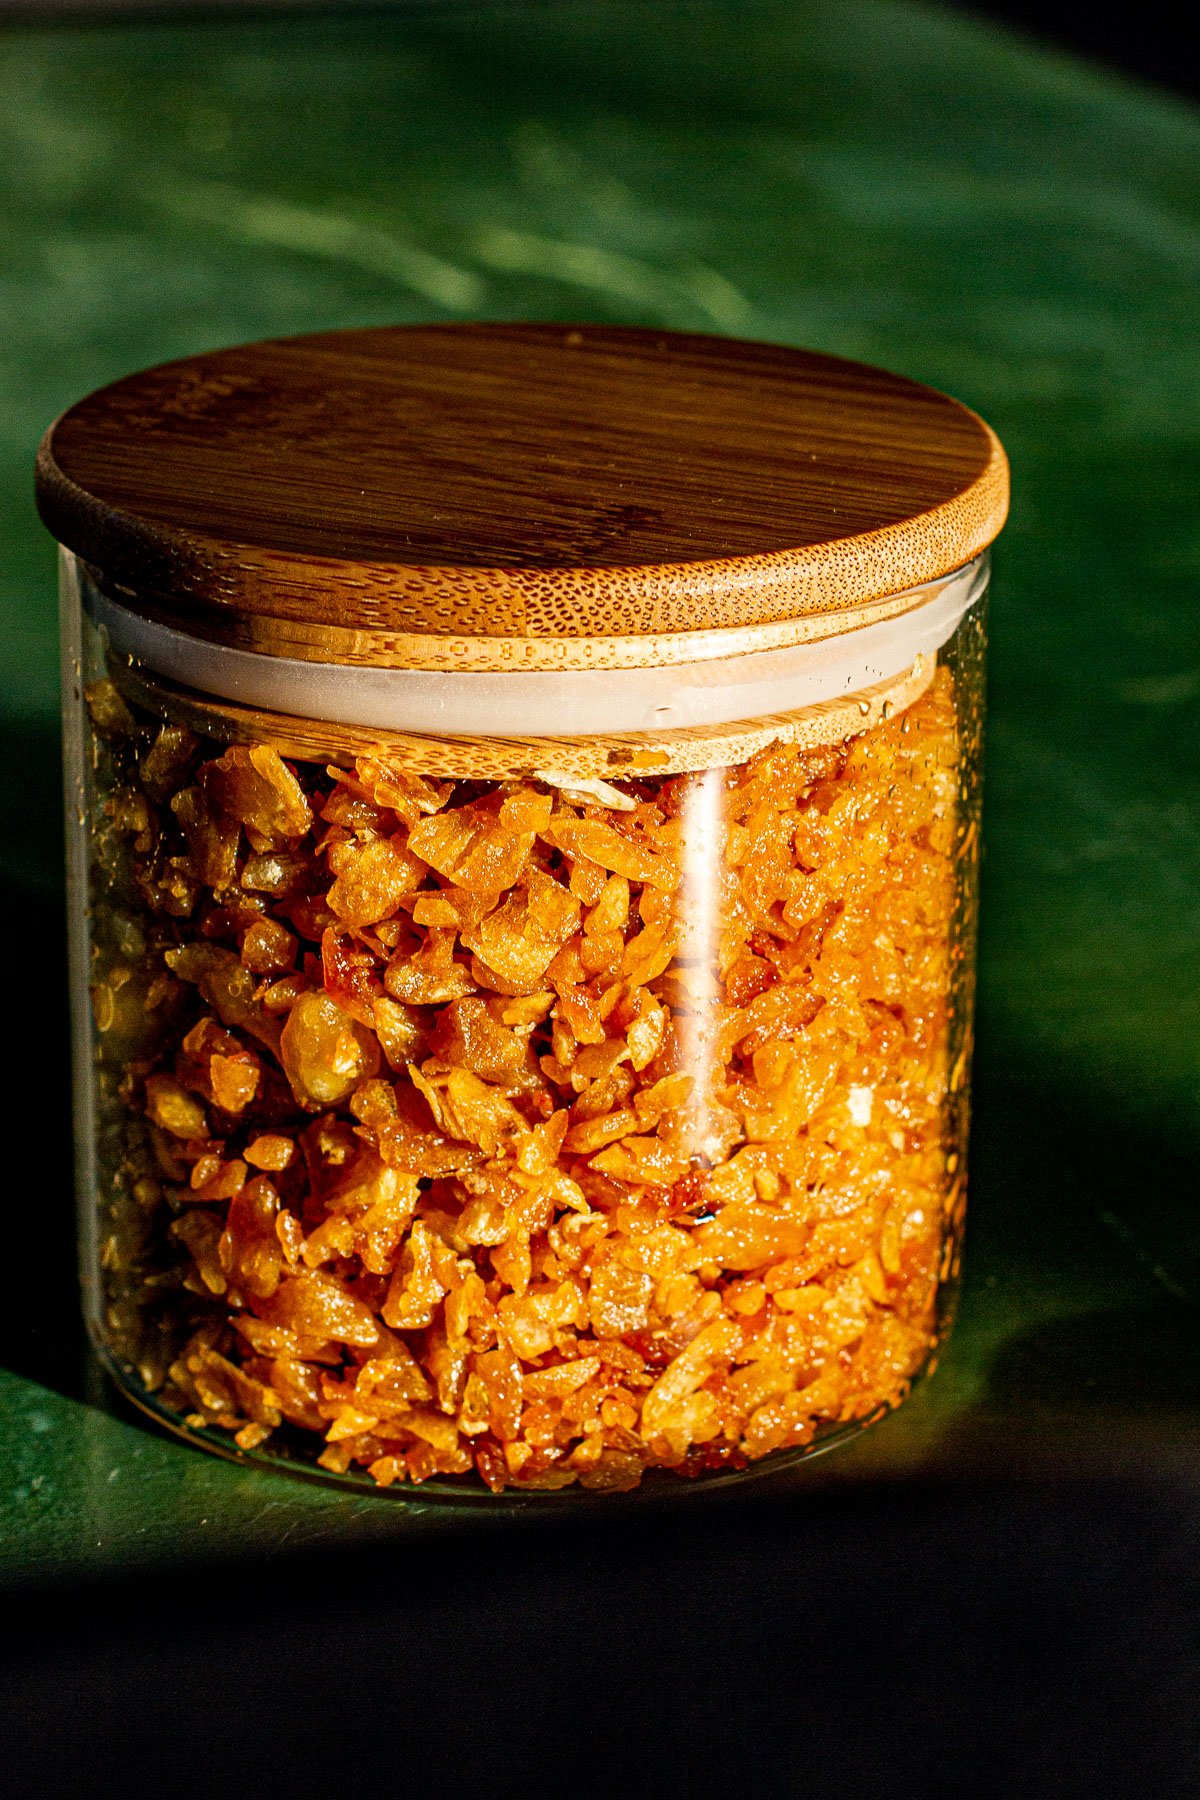
1. Keep the garlic crisps on it's own in a jar. It can keep up to 6 months in the pantry, but realistically you won't have any left by then!

2. Jar both the garlic and the cooled garlic infused oil together. This is actually my preferred option. The garlic can be stored longer. It's also a good short cut to use for making garlic fried rice! Just mix cold rice with the crispy garlic and oil and then heat up together in a large frying pan. It's also a nice drizzle condiment too!

There you have it! The homemade best 2 for 1 condiment!

All The Bahay Kubo Recipes
Lumpia with Singkamas Wrapers The Bahay Kubo Cooking Series
Ensaladang Talong Dip (Eggplant Salad Dip) Recipe
Adobong Mani (Roasted Peanuts) Recipe -Bahay Kubo Cooking Series
Ginataang Sitaw and Kalabasa Quiche Bahay Kubo Cooking Series
Patani (Lima Beans) On Toast Bahay Kubo Cooking Series
Tortang Ginisang Upo at Giniling Bahay Kubo Cooking Series
Kalabasa Bread Bahay Kubo Cooking Series
Labanos Fries with Creamy Sinigang Dip – Bahay Kubo Cooking Series
Bistek Sibuyas Recipe – Bahay Kubo Cooking Series
Sinigang sa Miso at Mustasa (Miso Soup with Tamarind and Mustard Greens)
Ginisang Kamatis at Itlog (Sauteed Tomatoes with Egg)
Ingredients
- 6 Heads Garlic, Peeled
- 1 ½ Cups Olive Oil
Instructions
- The first step is to peel all the cloves in the garlic.
- Pulse the peeled garlic in a food processor about 5 times. Or rough chop with a knife.
- Next put the garlic in a sauce pan and cover with cold olive oil. I used a cup and a half of oil and it went up half an inch over the garlic. Add more if needed.
- Put on the stove on very low heat and keep it moving so it doesn’t stick to the bottom of the pan. Leave it on low heat up until the 25 minute mark. Once you see the garlic is starting to brown slightly up the heat a little, until they are nice and golden.
- Remove the crispy garlic from the oil right away so that it doesn’t burn. Drain them on some paper towels. Don’t throw away the oil. It’s now infused with garlic and so awesome to use in dishes that call for garlic.
- Keep the garlic crisps on it’s own in a jar. It can keep up to 6 months in the pantry.
- Or jar both the garlic and the cooled garlic infused oil together.


Leave a Reply